Navigation 2
- right
- rightlower


The atmosphere causes problems to those who observe and explore the night sky. That is because it disturbs or even prevents the observation or photographing of the objects. The layers of the atmosphere, the densities of which vary, change direction of a ray of light because light refracts in the interface of thin and dense substances. The nearer the horizon the source of light is, the longer is the distance the light has to go through the air mass. This may cause distortion to the shape and size of the object. In spite of this, a sunset in the evening and a sunrise in the morning are fascinating and beautiful phenomena. Likewise the Moon, reddish and enlarged as it is near the horizon, makes people dream. In the picture there are the Northern lights in a freezing night scenery in Lapland’s desert. The paths of the stars are seen as bright lines. They are caused by a long exposure time and the Earth’s rotation about its axis (picture IH, Finland).

Aim: To get to know, both in theory and in nature, celestial phenomena caused by the atmosphere. What is the mechanism that causes them?
Explorations: When observing the phenomena in the sky, it is possible to see not only astronomical phenomena but also nature’s own phenomena. They may occur in daytime or at night and they are caused by the atmosphere. One of the most familiar phenomena is the sky reddening near the horizon at sunrise and sunset as well as the Moon and the Sun seemingly enlarged low at the horizon. The Northern Lights are the most impressive sight in the northern sky in Lapland. Their peaceful glow or colourful dance inspires human imagination in a magical way. Reflection of sunlight from raindrops in a rainbow or from snow crystals in a halo phenomenon show beautifully how diverse the essence of nature in its essence is. Also meteors and meteorites cause light phenomena in the atmosphere. When falling onto the ground they start to glow in the atmosphere due to friction. Meteors burn out in the air but meteorites are still burning when they hit the ground. To the observer it seems like these glowing objects are falling stars. In everyday language this celestial phenomenon is called a shooting star.
Explore more closely some light phenomena of the atmosphere. The first four are familiar to everyone and they can easily be seen. The three others are known mostly to the astronomers, but not even they have seen them all in nature.
1) First take a closer look at a rainbow. Colours of the rainbow are caused by the refraction of sunlight in falling raindrops. The observer sees the rainbow when the Sun is behind his back. The centre of the rainbow is on the line from the Sun through the observer. The whole spectre of the Sun, i.e. colours of violet, blue, green, yellow, orange and red, can be seen if the rainbow is bright. Red is on the outer edge and violet on the inner edge of the rainbow. Red light comes to the eye of an observer in an angle of 42 degrees and violet light in an angle of 40,3 degrees. In the picture there are the ends of two rainbows in the evening sun after a heavy rain fall (picture IH, Finland).
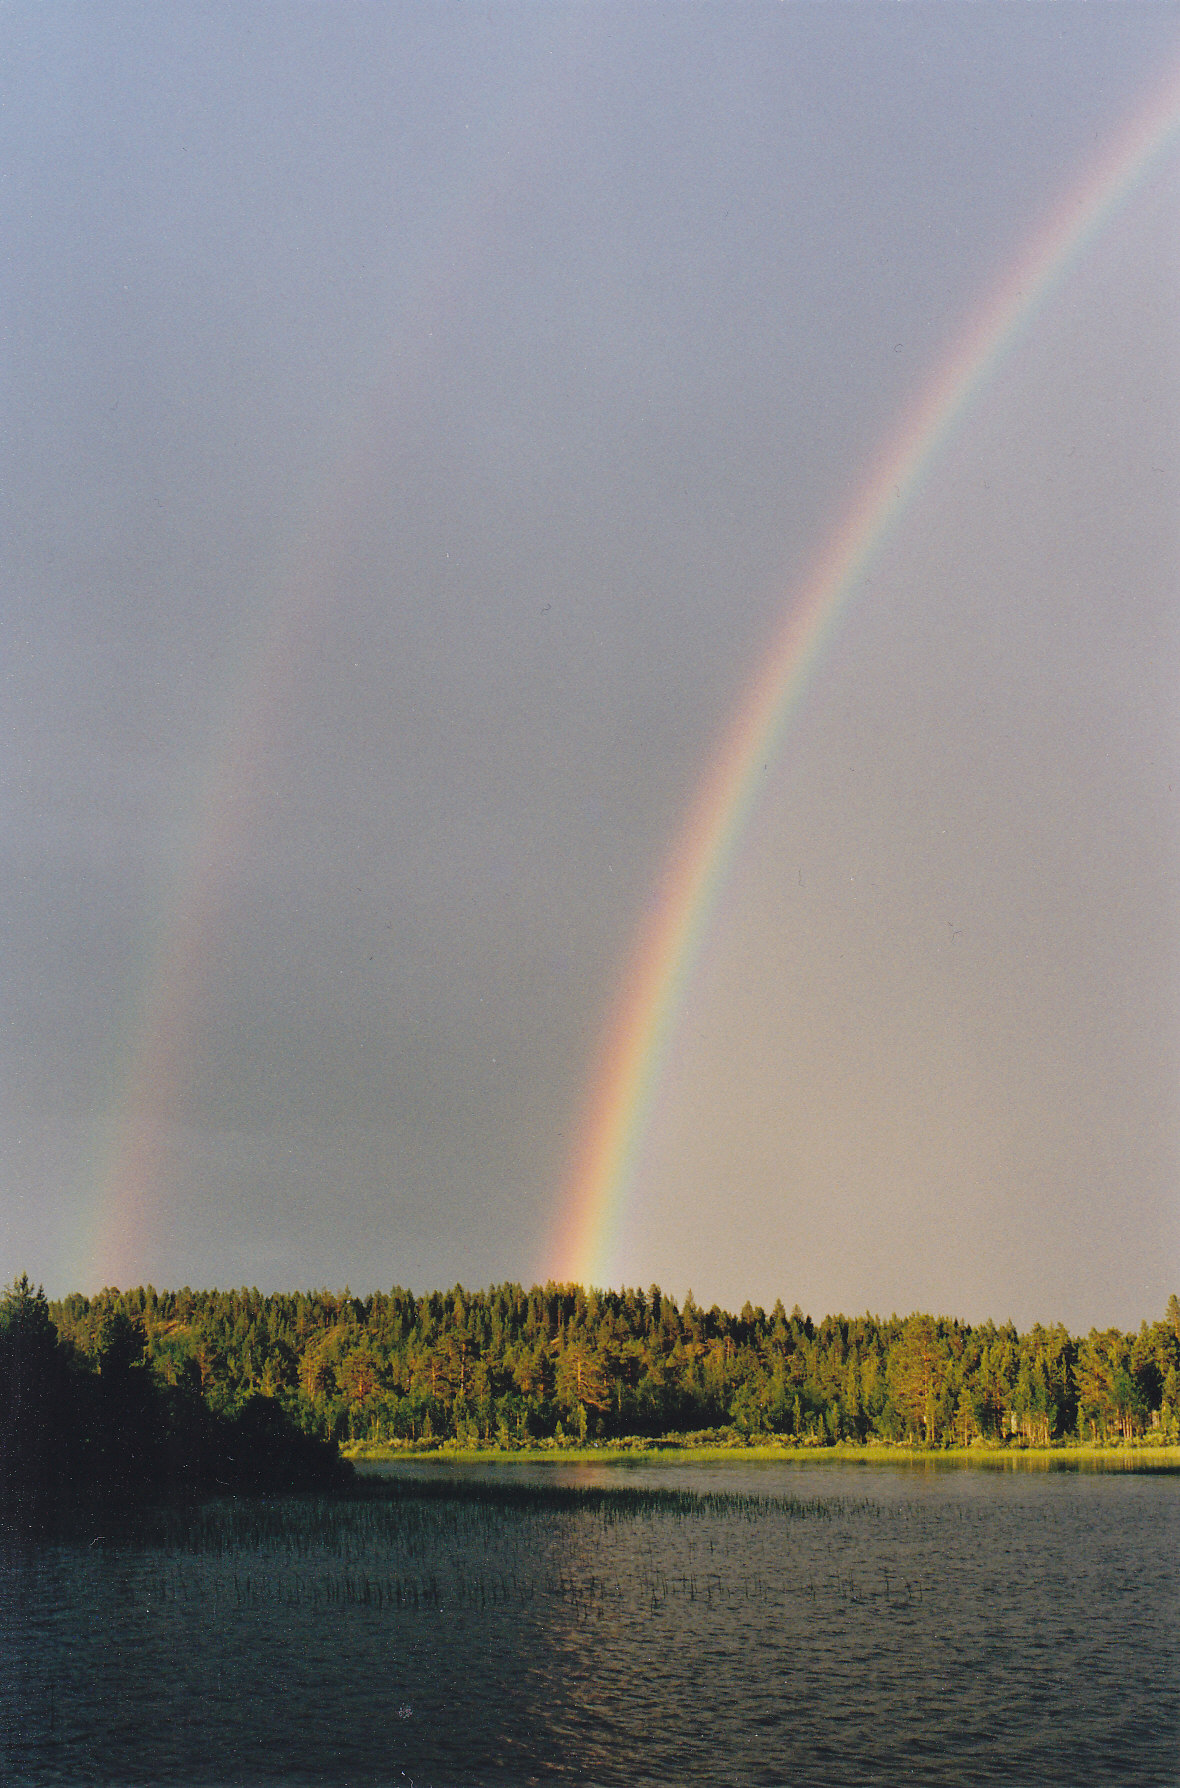
The students can draw a rainbow or a scenery with a rainbow on a large paper. Pictures can be compared with each other. Discuss the concepts and impressions related to the phenomenon.
2) In the twilight it is possible to explore clouds in the light sunset sky. What interests the astronomers most are the illuminating or glowing night clouds. They have those names because they are light even in the darkness of the night. The clouds at a height of about 80 km consist of small particles of size 3 x 10¯4 mm, which have absorbed water vapour. Glowing night clouds looking like cirrus clouds are about one kilometer thick and reflect sunlight. These clouds cannot be seen in daytime. They can only be observed low in the north when the Sun is from 6 to 16 degrees below the horizon.
Observe clouds in the twilight together with the students or ask the students to observe them independently. Students can also take photos or short videos of the clouds. Discuss the results together in the classroom and collect all observations. If there are videos, watch them and discuss their reliability.
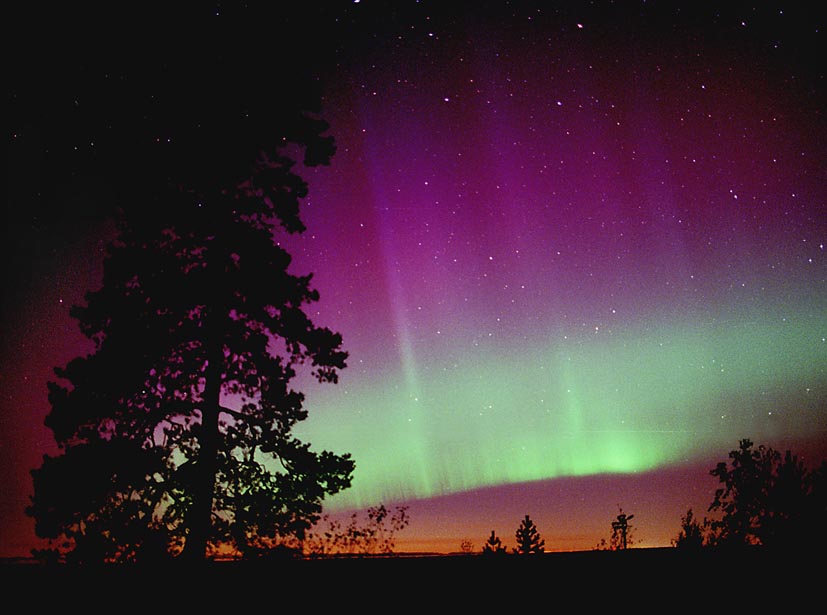
3) The Northern Lights have always fascinated human mind. Also the students find observing them a very exciting and activating function. Like illuminating night clouds, also the Northern Lights can also be observed together with the students on a dark night. Encourage students to observe independently. Location of Finland on the globe is very good as to observing the Northern Lights. They can be seen maybe ten times a year in the south and more than a hundred times a year in the north. In Central Europe they may be seen only a few times a year. The picture below shows a rare type of the Northern lights. Capturing these gorgeous colours is a token of outstandingly qualified skills (picture S. Ekko, Finland).
Provide the students before observation with some basic information on the Northern Lights, their origin, colours and shapes. Students can draw or try to take photos of what they see. Discuss the observations together in the classroom and present the results literally and by using photos.
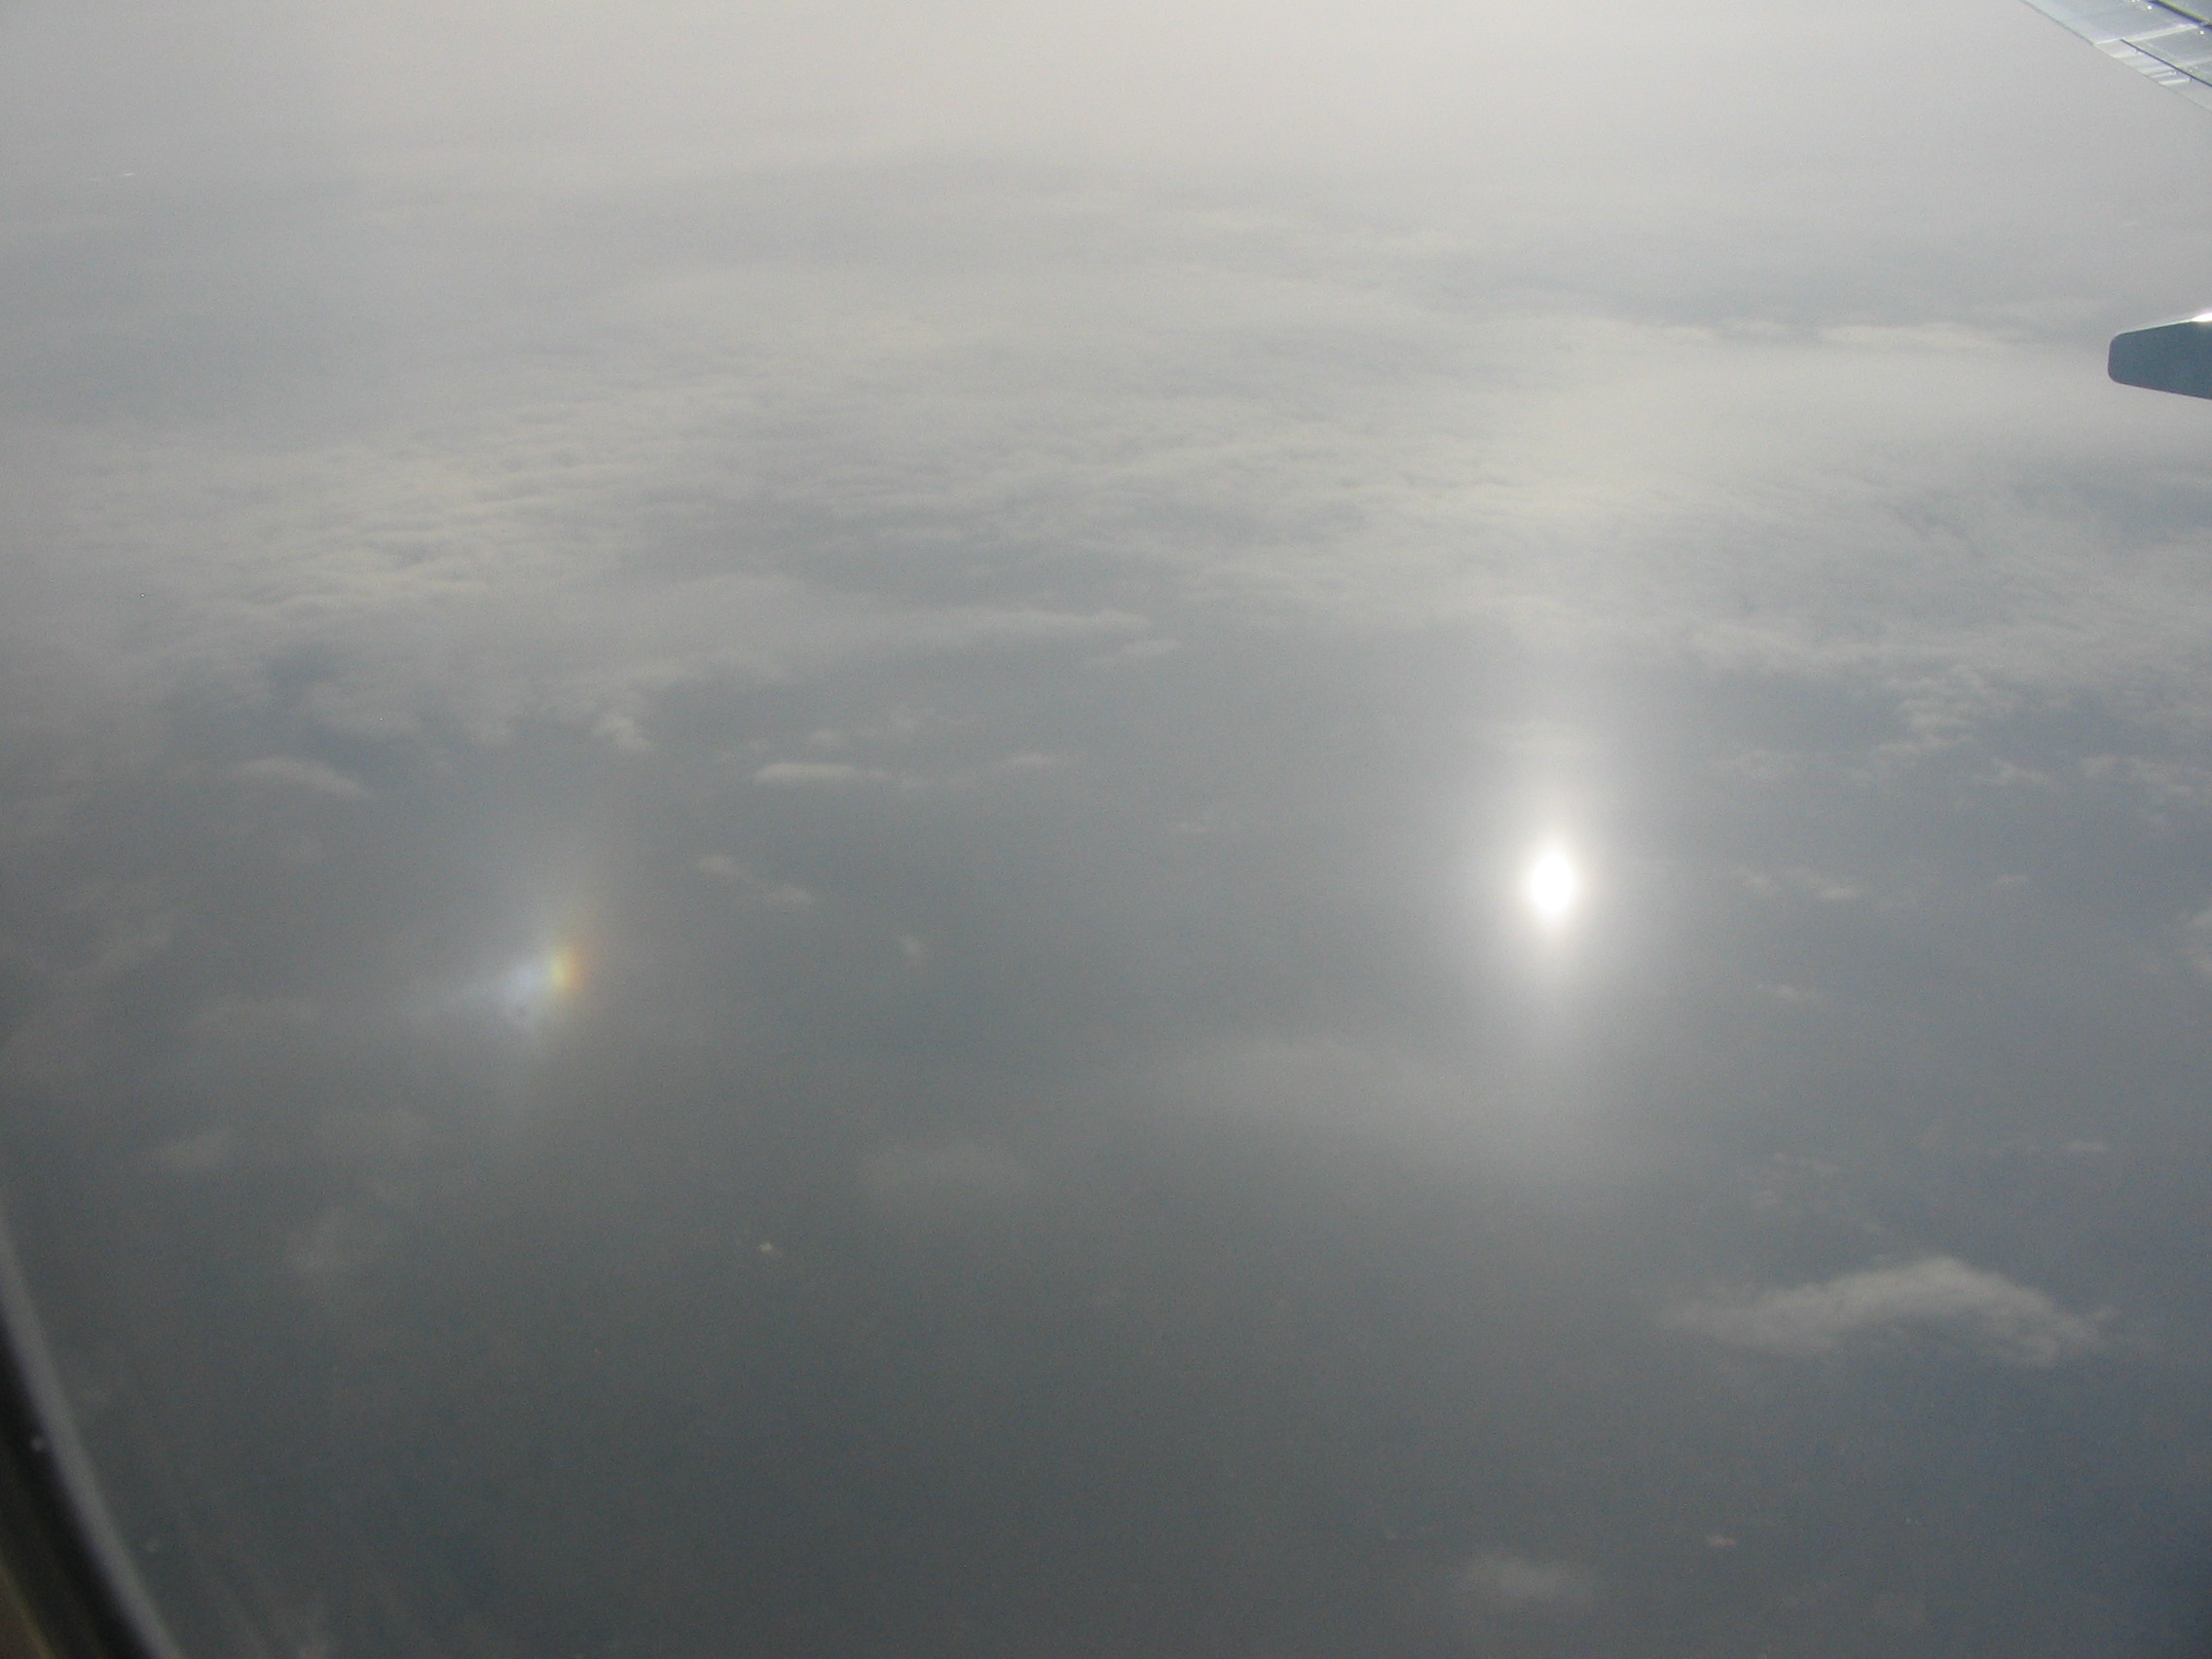
4) Halos, or circular phenomena as they also are called, are specific and quite rare phenomena. Their origin is the light of the Sun or the Moon which is reflected and refracted in ice crystals in the atmosphere. One of the most common halos is a short colourful piece of a rainbow on both sides of the Sun. In everyday language they are called side suns. Halos often take shapes of patches, curves and pilars. Halos are usually observed at the same time as cirrostratus and sometimes cirrus clouds as well as ice fog.
Since it is forbidden to look straight at the Sun or even near it with the naked eye, the students are guided to look for halo phenomena by keeping the Sun behind some obstacle, e.g. a corner of a house or a tree. Gather students’ observations together and draw their variety to a large collection on the classroom wall. In the picture a halo is seen beside a reflected picture of the sun in the clouds, seen through the airplane window (picture IH, Finland).
The following three light phenomena in the atmosphere are rare and not easy to observe. Many astronomers have never seen them, either. That makes it even more interesting to try and find them.
5) * To see the air glow requires good seeing, i.e. visibility. Even the moonless night sky is never completely black. There are many reasons for that: the scattering of the light of the stars in the atmosphere, the light of the Zodiac and radiation, i.e. air glow emitted from the atmosphere itself.
The air glow has its origin in molecules excited by electromagnetic radiation from the Sun. The emission of this state produces radiation which is called air glow. Observing this phenomenon at school can hardly succeed, but the class could make an excursion to an observatory or a planetarium nearby and ask their experts to tell more of this phenomenon and show pictures if there are any.
6) * The light from the Zodiac is also very difficult to observe or even find. It is a weak light from the direction of the zodiacal constellations and it can best be seen near the Sun. This cannot be seen in Finland. The light is caused by the sunlight that scatters because of dust and gas on the orbit plane of the Earth.
Get to know this phenomenon with the students by using literature and the Internet.
7) * A green flash is a phenomenon that attracts observers. One can try to see it at the edge of the Sun at sunset or sunrise. The refraction of the atmosphere causes, for example, that the top of the Sun setting below the horizon seems to flash momentarily bright green as seen with the naked eye. Trying to see this phenomenon is of course contradictory to the constantly emphasized denial to look straight to the Sun with a naked eye.
It is because of this risk of causing damage to the eyes that it is not recommended even to suggest this exercise to younger students. With the older students it is possible to try and use other activities in observing the phenomenon, like video recording, using reflected pictures or apt filters.
Methods: The most important method is observation outdoors. Get to know each phenomenon by using source material. The age and level of the students should be taken into account. The results are presented by using discussion or literally with pictures.
Materials: Observation with the naked eye is most important. In addition to that camera, binoculars, drawing materials, filters.
Pondering: The first four light phenomena occur so often that it is easy to discuss them with the students. Everyone has gained experience in observing them. However, the last three rare phenomena will surely only be topics of discussion.
Pictures from the Internet and experiences of other observers can deepen the understanding of the phenomena.
Evaluation of the results: By using pictures and drawings available, discuss with the students the diversity of occurred shapes of the phenomenon, e.g. colours and curve shapes of the Northern Lights. The results may be classified on the basis of criteria that can be obtained from literature. Ponder together how frequent or rare each class is. As to the halos, ponder how mathematical various shapes are.
Hints: With the younger students it is preferable to explore night clouds, the Northern Lights and rainbows. There is always a great risk of causing damage to the eyes when halos near the Sun are explored.
Key words: Atmosphere, rainbow, Northern Lights, halos, spectrum, emission, refraction.
Previous page: Constructing of small telescope
Seuraava sivu: Astrophotography