Navigation 2
- right_en
- rightlower_en


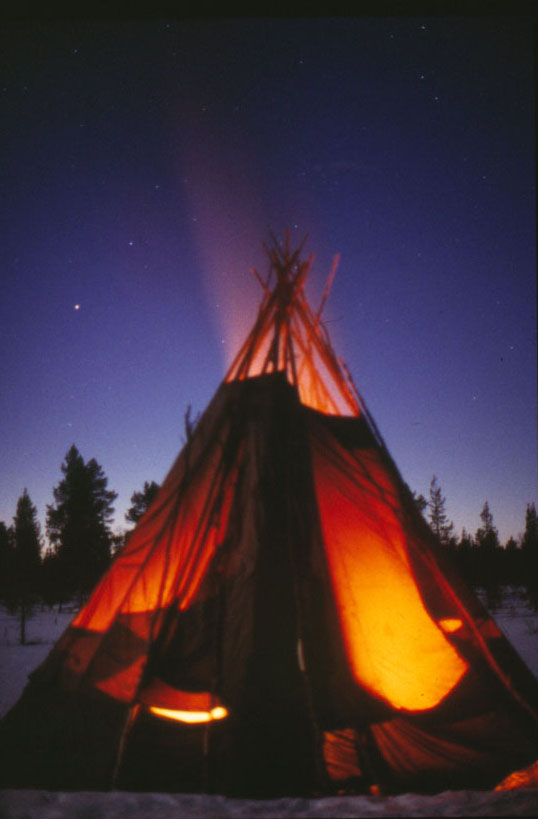
The sky on a dark night has always been a stimulus to people to observe the sky and it has inspired the imagination to produce magic feelings and myths. It is also possible to observe the phenomena of the sky during the daytime. Observing in the nature is an educational and rewarding way to study the secrets of the universe. It also gives everyone a concrete experience of how small we humans are amidst the huge universe. In the picture below, there is a Lapplander’s hut with a fire in the middle of it, enlightening the hut and warming it up. The gray smoke rises through the open top to the freezing air and dark night sky. The picture was taken in the middle of the night in Munavuoma, Finnish Lapland. The hut belongs to a reindeer herder J. Eira (picture IH, Finland).
Aim: To observe the phenomena of the night sky, to learn to know constellations and to use stars for orientation.
Explorations: The phenomena of the sky can be observed both in daylight and in the darkness of the night. It is easier to arrange observation during daylight hours, because the students are present at school and activities are easily adjusted according to weather conditions. Observation in the evening faces many problems. The date and the time when the students come to school need to be agreed in advance. There is no exact information on the weather conditions beforehand. It means that the observation may unexpectedly have to be cancelled. If the observers know each other they can agree on passing on information on the weather by telephone. That is how everyone is kept informed. The case is more complicated if the observational activities are open to all. Observation outdoors is a special kind of education system because there are plenty of celestial phenomena both during daytime and in the night sky. Also the size of the student group need not be restricted.
1) The Sun and even the Moon can be observed during the school hours. Sunshine gives an opportunity to explore the rotational speed of the Earth by watching how the shadow of a stick moves. Landscape, stick or astrolabe can be appropriate means of determining how high the Sun is in the sky. Using the landmarks of the scenery in this determination is quite enough especially for younger students. Finding the light bleak Moon in the daytime can be an exciting discovery to the students.
2) On a sunny day it is possible to explore the surface of the Sun and try to find sunspots. It is absolutely forbidden to look straight to the Sun with naked eyes or by any device that does not have a filter. The best way to observe the surface of the Sun is to explore the picture of the Sun on a paper on the ground or fixed on the wall. There are several ways to produce the picture on the paper.
If the group is large and observing the surface of the Sun is supposed to be simultaneous, a cardboard method is cheap and easy to use. Every student or student team has two papers or cardboards. Use compass to make a hole in the middle of one cardboard. The other, preferably a light cardboard is used as a screen. The student turns his back to the Sun and holds the cardboard with a hole in front of him and the screen cardboard behind the first cardboard. A beautiful picture of the Sun can be seen on the screen. If the picture can be enlarged, the sunspots also may be observed.
Observation can sometimes also be fun by using nature’s own ’observational tools’. If there is a small enough tree with leaves in the neighbourhood, it is possible to see numerous small suns in the pictures sieved by the leaves. Sunspots also can be recognized in those pictures.
3) * The previously mentioned observation methods for the pictures of the Sun may also be used to follow the proceeding of an eclipse. Pictures can be taken of it in various phases or the whole process may be recorded.
4) * Observing the dark sky demands a place with minimum light. Near the schools there is usually too much light. That is why the group needs to be taken for example to a park or further away from inhabited places. Mere observation and recognizing constellations do not demand total darkness but dark circumstances are a necessity in order to get good results when taking photos of the night sky.
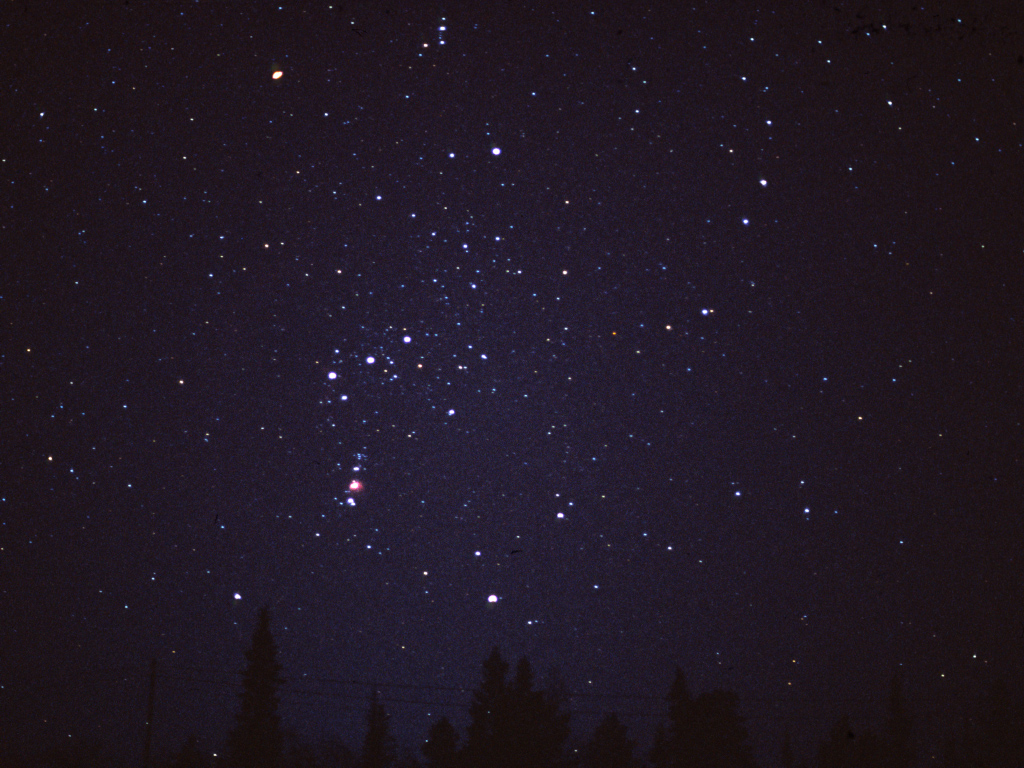
The students try at first to recognize constellations independently with the help of a star map. If needed, an expert shows them how to search stars and use the map. The findings may be discussed together. The students can draw their results on a paper or by using a computer. In the picture, a beautiful constellation of Orion is seen just above the forest in the bright winter night (picture IH, Finland).
5) * Learn to know the brightest stars in various constellations. Learn to know the most famous stars by name. Compare the colour and brightness of these stars with the real values introduced in astronomical literature.
6) * The comets are rarely observable. It usually needs binoculars or a telescope. Sometimes it has been possible to see a comet even with naked eyes (e.g. the Hale-Popp-comet in 1997).
7) * Numerous satellites revolve the Earth. They look like stars when they reflect sunlight, but their motion can be seen against the stars. When the reflection angle changes they occasionally cannot be seen for a little while or at all. The path of the satellite leaves a light line in the dark sky when the exposure time is long. The space station ISS looks like a very bright and speedy dot every now and then. Media informs the time when it possibly can be seen.
Methods: Active observation in the light or dark time of a day in nature with naked eyes, by using binoculars or a telescope. Discussing the observations at once or later on in the classroom. Use star maps and computer programs as means of observation. Observations are saved in a literary or a digital form. Observations may be illustrated by telling mythological stories of the celestial objects.
Materials: Cardboard or paper, equipment for taking notes and saving devices are needed to save the observations. The joy of finding and experience are good enough for the youngest students.
Pondering: As to the age of the students and the aims of observation, it is necessary to consider carefully what kind of basic information the students need in order to have a successful observation experience. It is good to give instructions in beforehand on how to use the star map and the observational tools because in those circumstances it is often dark and time is always limited.
Evaluation of the results: The star map and saved photos or videos at hand are used to discuss with the students their findings. Self-made and printed pictures on the classroom wall motivate the students to continue exploring the secrets of the night sky.
Hints: It is worthwhile to guide and encourage the students to use binoculars, telescope and camera when observing the night sky and saving objects. There may be a need for a short specified course of this topic.
Keywords: Night sky, constellation, mythology, astrophotography, magnitude, observation.
Previous page: Observation
Seuraava sivu: Constructing of small telescope