Navigation 2
- right_en
- rightlower_en


The Sun is a star shining its own light. There would be no life on the Earth without sunshine and energy produced by the Sun. Inside the Sun there is a continuous fusion reaction going on, as a result of which an enormous amount of energy is released into the surrounding universe. A part of this electromagnetic radiation is transformed to warmth when hitting the surface of the Earth. The Sun revolves around its axis. Especially in the equatorial regions of the Sun there are cooler areas that are called sunspots. When these appear the Sun spouts into the space eruptions of particles that also hit the atmosphere of the Earth and cause Aurora Borealis. In the picture there is a beautiful sun pillar in reddish clouds just after the sunset. (picture IH, Finland).

Aim: To get to know the Sun, our nearest star, how its path seen from the Earth varies during the year and what kind of thermal effects it has.
Explorations: Explore the Sun and its motions in the sky that can be seen on the Earth. A bright lamp is used to indicate the Sun and a styrox ball demonstrates the Earth. To make the exploration easier we mark the equator, tropics, polar circles as well as meridian circles on the ball. The exploration is partly based on shadows. That is why we fix some wooden sticks into the ball to produce shadows. A long wooden stick through the centre of the Earth is the axis of the Earth.
The Earth orbits the Sun. Seen from the Earth it seems as if the Sun always goes through the same constellations. For instance, during the summer solstice the Sun is always in the tropic of Cancer and during the winter solstice it is in the tropic of Capricorn. The Sun’s apparent path via the constellations is called an ecliptic and the chain of the constellations the Zodiac. The path of the Sun goes through 13 constellations, but usually only 12 of them are included because the year is divided into 12 months. The constellation Ophiuchus is not usually mentioned when speaking of the Zodiac.
1) Explore the structure of the Sun by using literature and the Internet. Draw a picture of a cross-section of the Sun and add in it the names of the major parts of the Sun. The core is a hot fusion reactor that sends out an outflow of gas whirls. The Sun spouts flares, i.e. protuberances, from the surface far away into the space. In addition to that there is a faint gas layer corona. It can only be observed during the solar eclipse when the sun is behind the moon. Cooler areas on the surface of the Sun are called sunspots.
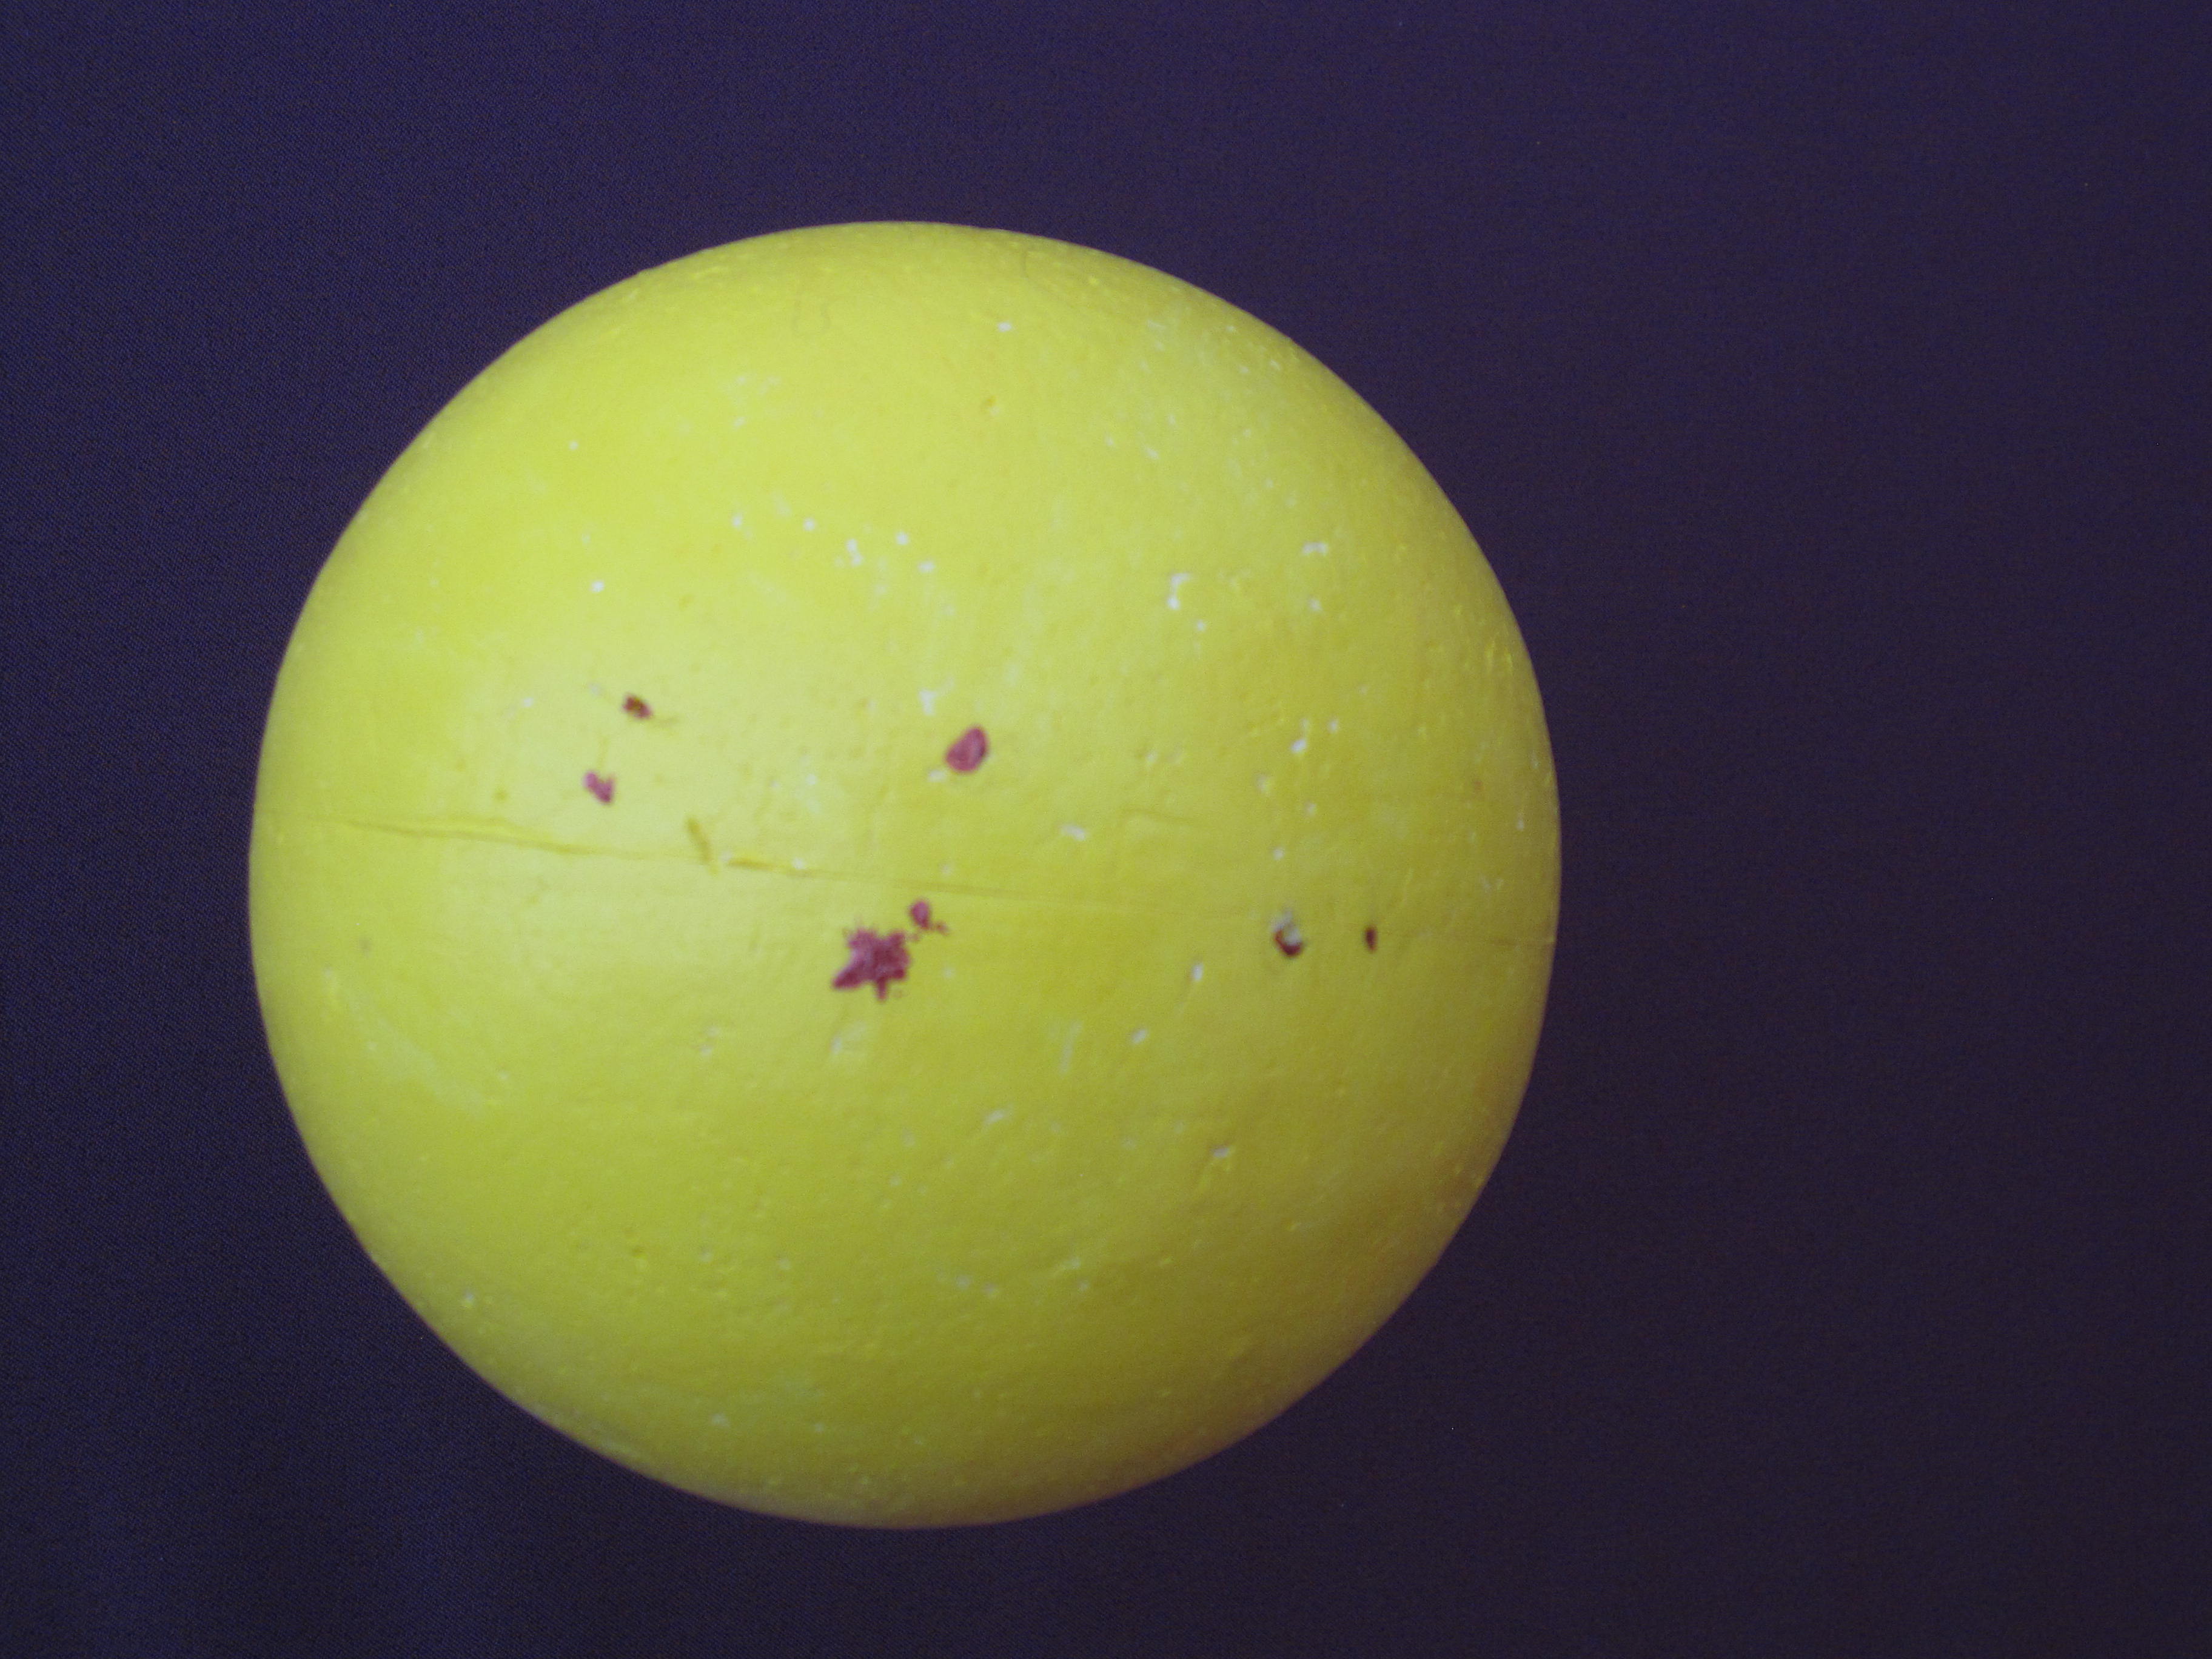
2) Let us survey the picture of the Sun reflected on the floor or the wall by binoculars or a telescope. The students need often to be reminded that it is not allowed to look at the Sun by naked eyes or any device. The students can try to find sunspots in the reflected picture and mark them on the paper. If not earlier, this is the moment when they notice how rapid the revolving of the Earth is. When taking a closer look at the picture, the movement of the sunspots can easily be seen. In the picture there is a self-made model of the Sun. The surface of the styrox-ball is painted in yellow and the sunspots on it in black (picture and painting VH, Finland).
3) The students can observe the Sun also simultaneously by using a simple instrument. A student stands with his back to the Sun and holds in his hand a piece of cardboard or thick paper with a small circle hole in it. Behind the cardboard he holds another paper on which he sees a picture of the Sun. By moving the shade paper behind, he can choose the size of the picture. This model is excellent also when observing the solar eclipse.
4) * The presented model works like a pinhole camera. If two students do the observation together, one of them can draw the picture of the Sun on the shade paper and measure the distance between the shade paper and the cardboard. Since the distance between the Sun and the Earth is known, the diameter of the Sun can be determined from a simple graph by using proportion.
5) * Explore various effects generated by the heat of the Sun. The exploration can be carried out either as a longitudinal study or a cross-section study. In a longitudinal study the temperature of the object is measured during a certain period. The interval can be one hour, a daylight, a whole day or some other longer period. Changes in the weather complicate the study, especially if the period of a cloudy weather is long during the measuring period. In a cross study the exploration time is the same for every object but the objects explored vary. There are many options depending on the explorer and his interests. E.g. bright area, shadow, a light object, a black object as well as sand and water are suitable topics for study. Explorers may find more topics. The temperature measured in the same circumstances is the indicator for finding out how various materials absorb heat.
6) * The teacher and the students discuss the motions of the Sun and the phenomena they develop. Important topics can be e.g. times and places of sunrise and sunset, the declination of the Sun, the colour of the sunlight high in the sky and near the horizon as well as energy. Many other interesting topics may arise during the discussion.
7) * Let’s talk about the Sun as a star. Find its position in Herzsprung-Russell diagram on the region of middle-aged stars. Discuss the future and life cycle of the Sun.
Methods: Modeling the motions of the Sun during a day and a year by marking the positions of the Sun on the paper attached in the window or on the table. Exploring the Sun in a reflected picture. Discussing various topics. Exploring the heat effects as well as defining the diameter.
Materials: Binoculars or a telescope, cardboard, thermometer, calendar, HR-diagram.
Pondering: An interesting topic to discuss is e.g. the figure the Sun draws when rising on the eastern sky every morning. The observation time and place need to be the same. The observation moment can also be some other than morning, but during the sunrise (or sunset in the evening) the light is not so bright as in the middle of the day. The path of the sunrise positions gathered on paper creates a figure that resembles number eight. The figure is called an analemma.
Evaluation of the results: The Suns the students have drawn are compared with each other. In addition to that we discuss the clusters of the sunspots. Understanding of the various paths of the Sun during a year or a day are rehearsed and tested by using the Earth-Sun model.
Hints: When reflecting the image of the Sun on the wall it is necessary to remember to cover the objective of the binoculars or the telescope with solar foil. Between the surveys it is good to cover the objective with an impermeable lid to prevent the objective from heating.
Key words: Sun, star, solar energy, thermal radiation, analemma, life cycle of a star.
Previous page: Shapes of the Moon's surface
Seuraava sivu: Eclipses